


Quick Answer
To zero a red dot sight, adjust the optic so the point of impact matches the point of aim at your chosen zero distance. For most shooters, a 15- or 25-yard zero works well for defensive pistols, while a 50-yard zero is an excellent all-around choice for AR-15s and many sporting rifles. Regardless of firearm type, the correct sight picture is simple: place the dot where you want the bullet to impact and focus on the target—not the dot.
Key Takeaways
- Focus on the target, not the red dot.
- Keep both eyes open whenever practical.
- Zero your optic using the ammunition you intend to carry or hunt with.
- A stable shooting position is essential for an accurate zero.
- Confirm your zero at multiple distances after making adjustments.
- Brightness settings should be adjusted so the dot is crisp, not excessively bright.
Why Proper Zeroing Matters
A red dot sight is only as effective as its zero.
Even the highest-quality optic cannot compensate for an improperly zeroed firearm. A small error during setup can translate into several inches of missed point of impact at longer distances.
Whether you're using a red dot for:
- Concealed carry
- Home defense
- Competition
- Hunting
- Recreational shooting
- Duty use
A properly established zero ensures that your point of aim corresponds with your point of impact under real-world conditions.
Fortunately, zeroing a red dot is a straightforward process when done methodically.
Understanding the Correct Sight Picture
One of the biggest differences between iron sights and a red dot optic is where your eyes should focus.
With Iron Sights
Proper sight alignment requires focusing on the front sight, allowing both the rear sight and the target to appear slightly blurred.
With a Red Dot Sight
A red dot is designed to work differently.
Instead of shifting focus to the optic, your eyes should remain locked on the target.
The dot simply appears superimposed over your target.
The proper sight picture is:
- Focus on the target.
- Keep both eyes open whenever possible.
- Place the dot where you want the bullet to strike.
- Press the trigger without disturbing the dot.
This target-focused approach is one of the primary reasons red dot sights can improve speed and target acquisition compared to traditional iron sights.
Does Dot Position Inside the Window Matter?
One of the most common misconceptions among new red dot users is that the dot must remain perfectly centered in the optic's window.
In reality, quality reflex sights are designed to be largely parallax-free at practical distances, though many are not completely parallax-free at all distances. As long as you can clearly see the dot and it is properly zeroed, the bullet's point of impact will remain very close to the point of aim at the optic's intended distances—even if the dot appears near the edge of the viewing window.
That means you should focus on:
- Seeing the target clearly.
- Seeing the dot clearly enough to aim.
- Pressing the trigger smoothly.
Trying to center the dot in the window before every shot only slows you down and offers little practical benefit once the optic is properly zeroed.
How to Zero a Red Dot on a Pistol

Pistol-mounted red dot sights have become increasingly common for concealed carry, home defense, competition, and duty use. While the zeroing process is straightforward, consistency is critical.
Step 1: Mount the Optic Properly
Before heading to the range:
- Verify the optic is securely mounted.
- Use the manufacturer's recommended torque specifications.
- Apply the appropriate thread locker if specified by the optic manufacturer.
- Confirm the battery is fresh and functioning properly.
Even a slight amount of movement in the optic can shift your zero.
Step 2: Choose a Zero Distance
There is no universal "best" pistol zero, but several distances have become common.
| Zero Distance | Best For |
|---|---|
| 10 yards | Defensive practice and indoor ranges |
| 15 yards | One of the most common concealed-carry zeros |
| 25 yards | Duty, competition, and general-purpose shooting |
A 15-yard zero offers an excellent balance for many defensive handguns, while a 25-yard zero provides greater consistency across a wider range of practical shooting distances.
Step 3: Shoot from a Stable Position
Use a stable rest whenever possible.
Options include:
- Sandbags
- A pistol shooting rest
- A range bag
- A supported bench position
Zeroing while standing introduces unnecessary variables that make adjustments more difficult.
Fire slow, deliberate groups of three to five shots before making any corrections.
Step 4: Adjust the Optic
Most red dot sights adjust using elevation and windage screws.
Consult your owner's manual to determine the adjustment value, which is often listed in MOA, or Minute of Angle.
Many pistol optics adjust in 1 MOA or 1.5 MOA increments per click, though values vary by manufacturer.
After each adjustment:
- Fire another group.
- Measure the group center.
- Continue making small corrections until your point of impact matches your point of aim.
Avoid chasing individual shots. Always adjust based on the center of a well-fired group.
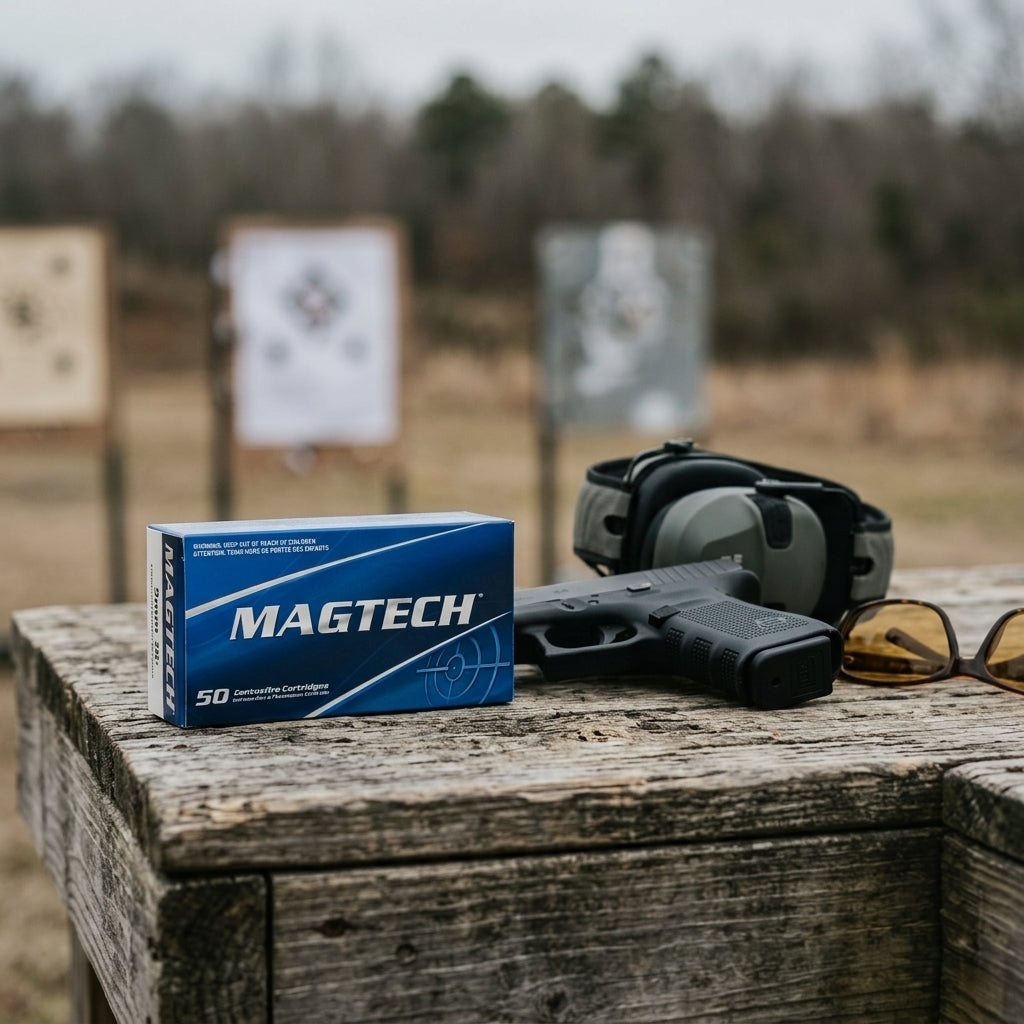
Magtech 9mm 115gr FMJ
$20.00
at Pro Armory
Prices accurate at time of writing
How to Zero a Red Dot on a Rifle

The process for rifles is similar but typically uses longer zero distances.
Step 1: Bore Sight (Optional but Helpful)
A laser bore sighter or visual bore sighting can place your first shots on paper, saving both time and ammunition.
Bore sighting does not replace live-fire zeroing—it simply gets you close enough to begin making final adjustments at the range.
Step 2: Select the Appropriate Zero Distance
Your ideal zero depends on the rifle's intended use.
| Zero Distance | Common Applications |
|---|---|
| 25 yards | Initial zero confirmation or rimfire rifles |
| 36 yards | Popular AR-15 defensive zero |
| 50 yards | Excellent all-around AR-15 zero |
| 100 yards | Hunting rifles and precision rifles |
For AR-platform rifles chambered in 5.56 NATO/.223 Remington, a 50-yard zero is one of the most widely recommended choices because it provides a practical balance of near- and intermediate-range performance.
Many bolt-action hunting rifles are instead zeroed at 100 yards, allowing hunters to evaluate their ammunition's trajectory more easily and make informed holdovers based on the cartridge and expected hunting distances.
Step 3: Fire Controlled Groups
Shoot from a stable bench using:
- Sandbags
- Bipod
- Shooting rest
- Rear support bag
Fire three- or five-shot groups, allowing the barrel to cool as appropriate, especially with lightweight hunting barrels that can shift point of impact as they heat.
Step 4: Confirm Your Zero
Once the rifle is zeroed at your chosen distance, verify performance at additional distances.
For example:
- A 50-yard AR-15 zero should also be confirmed at longer practical distances.
- A 100-yard hunting rifle should be checked at the distances you realistically expect to shoot in the field.
Understanding your rifle's trajectory with your chosen ammunition is just as important as establishing the initial zero.

PMC X-tac 5.56 NATO 62 Grain
$20.00
at Pro Armory
Prices accurate at time of writing
Choosing the Right Zero Distance

There is no single zero distance that works best for every firearm or every shooter.
Your ideal zero depends on:
- Firearm type
- Cartridge
- Intended use
- Typical engagement distance
- Ammunition selection
For most shooters, these are excellent starting points:
| Firearm | Recommended Zero |
|---|---|
| Concealed carry pistol | 15 yards |
| Duty or competition pistol | 25 yards |
| AR-15 (5.56 NATO/.223 Rem.) | 50 yards |
| Rimfire rifle (.22 LR) | 25–50 yards |
| Centerfire hunting rifle | 100 yards |
Remember that changing ammunition—even within the same caliber—can alter your point of impact. Whenever you switch to a different bullet weight or load for defensive use, hunting, or competition, it's a good idea to confirm your zero before relying on that setup.
Common Red Dot Zeroing Mistakes
Even experienced shooters can make mistakes when zeroing a red dot sight. Avoiding these common errors will save time, ammunition, and frustration while helping you establish a dependable zero.
Zeroing with Unstable Shooting Positions
One of the most common mistakes is attempting to zero while standing unsupported.
Body movement, inconsistent grip, and natural sway make it difficult to determine whether misses are caused by the shooter or the optic.
Instead, use:
- A solid shooting bench
- Sandbags
- A bipod or front rest
- A rear support bag for rifles
Remove as much shooter-induced movement as possible before adjusting the sight.
Chasing Individual Shots
Every shot is slightly different.
Instead of adjusting the optic after every round, fire consistent three- to five-shot groups and adjust based on the center of the group.
This approach produces a much more reliable zero.
Using Different Ammunition
Changing ammunition after zeroing can significantly alter your point of impact.
Differences in:
- Bullet weight
- Bullet design
- Velocity
- Manufacturer
can all affect where the bullet impacts.
Whenever possible:
- Zero with your carry ammunition.
- Zero your hunting rifle with your hunting load.
- Confirm your zero whenever switching ammunition.
Setting the Dot Too Bright
A red dot should appear crisp and well-defined, not oversized or star-shaped.
If the brightness is set too high:
- The dot appears larger than it actually is.
- Precision decreases.
- Small targets become more difficult to see.
- Blooming can make accurate aiming more challenging, particularly indoors or in low-light conditions.
Adjust brightness so the dot is just bright enough to be easily visible against the target.
Ignoring Mechanical Offset
A red dot sits above the firearm's bore.
Because of this height difference, the bullet begins its flight below the optic's line of sight and intersects it only at the chosen zero distance.
This means that at very close distances, your point of impact will be lower than the dot, even with a perfect zero.
For example:
- A defensive pistol zeroed at 15 yards will generally impact slightly low at 3 to 5 yards.
- An AR-15 with a typical optic height of approximately 2.6 inches above the bore will also impact noticeably low at close range due to the height-over-bore relationship.
Understanding this offset is particularly important for precision shots at close distances.
Tips for Faster Red Dot Shooting
A properly zeroed optic is only part of the equation. Efficient target acquisition comes from consistent presentation and regular practice.
Present the Firearm Consistently
The easiest way to find the dot quickly is to present the firearm the same way every time.
If you frequently "search" for the dot, the issue is usually inconsistent presentation—not the optic.
Practice drawing or mounting the firearm so the optic naturally aligns with your line of sight.
Focus on the Target
One of the greatest advantages of a red dot is target-focused shooting.
Rather than shifting your focus to the sight itself:
- Keep your eyes on the target.
- Allow the dot to appear naturally.
- Press the trigger without disturbing the sight picture.
This technique is effective for both pistols and rifles.
Keep Both Eyes Open
Whenever practical, shoot with both eyes open.
Benefits include:
- Greater situational awareness
- Faster target transitions
- Improved peripheral vision
- Reduced eye fatigue
Many shooters find this becomes second nature after regular practice.
Dry Fire Regularly
Dry-fire practice is one of the best ways to improve red dot proficiency.
It helps develop:
- Faster dot acquisition
- Consistent presentation
- Better trigger control
- Reduced unnecessary movement during the trigger press
Always ensure the firearm is unloaded, remove all live ammunition from the practice area, and follow all firearm safety rules before beginning dry-fire practice.
Final Thoughts
Red dot sights have transformed the way shooters use pistols and rifles by allowing faster target acquisition and a simpler, target-focused sight picture. However, those advantages depend on establishing a proper zero and understanding how the optic works.
Whether you're mounting a red dot on a concealed-carry pistol, an AR-15, a hunting rifle, or a PCC, the fundamentals remain the same: mount the optic securely, choose an appropriate zero distance, fire consistent groups from a stable position, and confirm your zero with the ammunition you intend to use.
Finally, remember that a red dot is a tool—not a substitute for good fundamentals. Consistent presentation, smooth trigger control, and regular practice will do more to improve your performance than constantly adjusting your optic.
Master those fundamentals, and a properly zeroed red dot can become one of the fastest and most effective sighting systems available.
Learning to properly zero a red dot is one of the most valuable skills a shooter can develop, and the same principles apply whether you're setting up a concealed carry pistol or a rifle built for precision and defensive use. If you're looking to reinforce the fundamentals or need a more comprehensive walkthrough, explore our step-by-step zeroing guide to learn the proven process for establishing and confirming an accurate zero with virtually any optic.
Frequently Asked Questions
What is the best zero for a pistol red dot?
A 15-yard zero is an excellent choice for many concealed-carry pistols because it provides good practical performance across common defensive distances. A 25-yard zero is also popular for duty and competition use.
What is the best zero for an AR-15 red dot?
A 50-yard zero is one of the most widely recommended options for general-purpose AR-15s because it offers a practical balance of trajectory for defensive, training, and recreational shooting. Some shooters prefer a 36-yard or 100-yard zero depending on their intended application.
Should I focus on the dot or the target?
Focus on the target. The red dot should appear superimposed on the target while remaining clear enough to aim. This target-focused approach is one of the primary advantages of red dot optics.
Why does my red dot look blurry?
A blurry or starburst-shaped dot is often caused by excessive brightness settings. Lowering the brightness frequently produces a sharper aiming point.
For some shooters, persistent distortion may be related to an uncorrected vision condition such as astigmatism, making it worthwhile to consult an eye care professional.
Do I need to re-zero my red dot?
You should confirm your zero whenever you:
- Install a new optic.
- Remove and reinstall the optic, unless the mounting system is designed to reliably return to zero.
- Change ammunition.
- Replace the mounting hardware.
- Experience a significant impact or drop.
- Suspect your point of impact has shifted.
About the Author
The ProArmory editorial team includes competitive shooters, firearms instructors, military veterans, hunters, and industry professionals committed to producing practical, accurate, and research-based firearm content. Our articles are built on established shooting principles, manufacturer guidance, and real-world experience to help readers improve their skills and make informed equipment decisions.
Disclaimer
This article is intended for informational and educational purposes only. Firearm specifications, optic features, and manufacturer recommendations may vary by model. Always follow the installation instructions provided by the optic and firearm manufacturers, verify your zero after any equipment changes, and adhere to all firearm safety rules while practicing or zeroing your firearm.
Practice only on established ranges or in safe shooting environments, and always confirm that your firearm is unloaded before conducting any dry-fire training.


